


Lorem ipsum dolor sit amet, consectetur adipiscing elit. Ut elit tellus, luctus nec ullamcorper mattis, pulvinar dapibus leo.
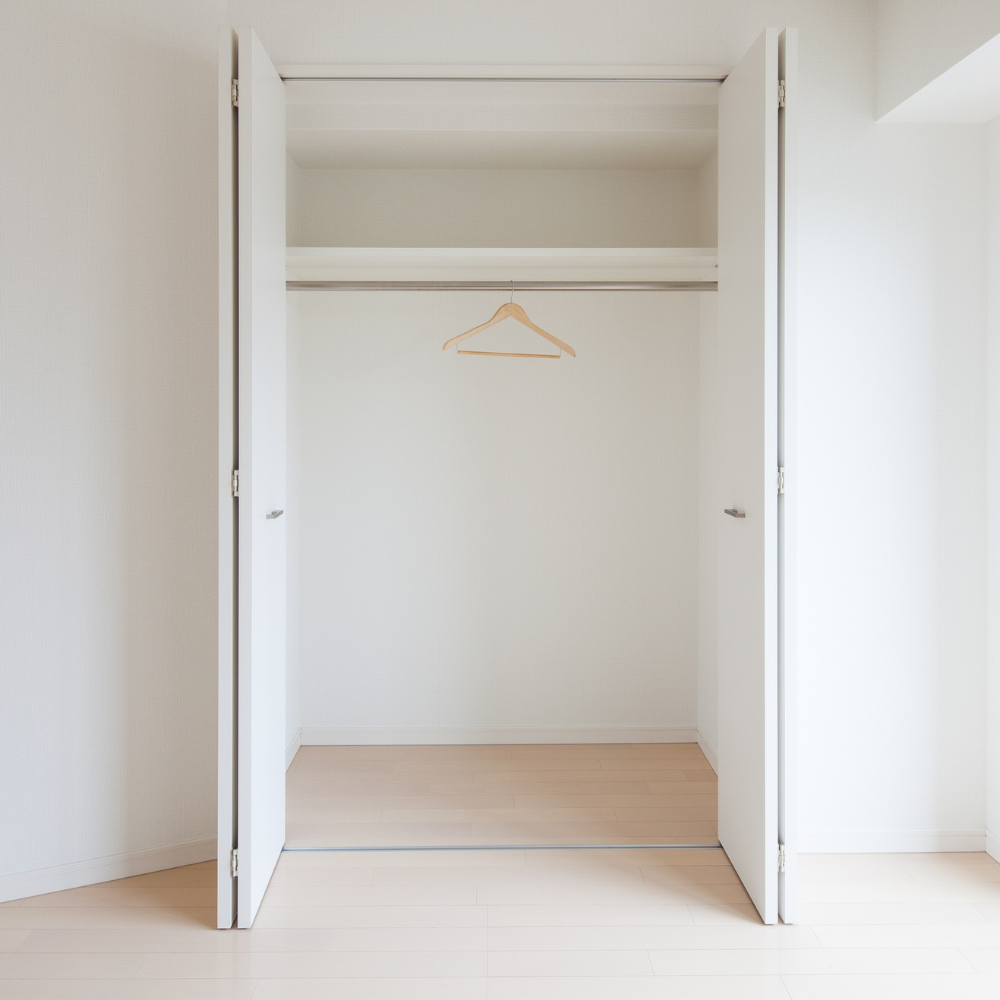
Open the door to any closet and the first thing you feel—cramped panic or calm satisfaction—boils down to a few simple measurements. Industry references agree that most reach-ins slot comfortably between 3 ft and 6 ft wide, roughly 6 ft tall, and about 24 in deep. The Spruce I learned that lesson the hard way years ago when I rented an apartment with a 20-inch-deep hallway closet. Full-size cedar hangers scraped the back wall, winter coats bunched into an angry knot, and the rod eventually snapped under the strain. Ever since, I start every project with a tape measure and an honest look at what needs to live inside.
Depth and width don’t just influence capacity—they dictate which organizer systems can actually fit without blocking the doorway. I once tried sliding a pre-built drawer tower into a five-foot reach-in and discovered that the standard 20-inch drawer clearance collided with the sliding-door track. A ten-minute install turned into a full-day rebuild, all because I skipped the measuring step. Spend five minutes gathering numbers now, and you’ll avoid five years of frustration later.
Ceiling height is another silent hero. An eight-foot ceiling leaves room for an overhead shelf around 84 in high, perfect for luggage or seasonal gear that shouldn’t hog prime real estate. Remember: every inch you give to clutter is an inch you steal from breathing room. So treat dimensions as guardrails—stay inside them, and your closet will feel twice as big without adding a single square foot.
Ask ten carpenters and eight will swear by 22–24 in as the “Goldilocks zone”—deep enough for hangers, shallow enough that socks don’t vanish behind garment bags. The Spruce When space allows, I stretch to 28 in for families with bulky parkas or garment bags; the extra air keeps fabric crisp rather than mashed. But renovations sometimes force compromise. Reliable technical guides note that closets as shallow as 20 in can work if you’re willing to tweak hardware and hanger styles. dimensions.com
Whenever depth falls under 24 in, I downshift to slimmer 1¼-in steel tubing and swap chunky wooden hangers for velvet-flocked versions that shave almost half an inch each. That simple change adds six to eight inches of lateral clearance over a full rod—enough for an entire week of shirts. Another pro tip: mount rods an inch forward of center so garments float free of the back wall, preventing those unsightly shoulder dents.
Ventilation matters, too. Shallower closets restrict airflow, raising humidity and inviting musty odors. I drill a discreet vent at the top rear panel and install an adhesive-backed louver. It costs less than a latte and keeps wool smelling like, well, wool instead of damp cardboard. Small moves—thinner hangers, forward-shifted rods, micro-vents—add up to big usability gains, proving that even a modest depth can perform far beyond its measurements.
Width secretly governs usability more than any other dimension. Reliable building manuals describe 36 inches as the bare minimum and 96 inches as the practical maximum for reach-ins. Anything narrower than three feet feels like a hotel wardrobe; anything wider than eight feet needs mid-span supports to stop sagging rods. My rule of thumb: add a vertical upright every four feet once you exceed a six-foot span. It keeps rods arrow-straight and prevents the dreaded midday wardrobe collapse.
Height pairs with width to create smooth ergonomics. Aim for an 8-ft ceiling, situating the top shelf at 84 in so seldom-used luggage stays high and clear of sight lines. If your home tops out at nine or ten feet, resist the urge to push shelves sky-high unless you love step stools. Instead, install a decorative fascia around 96 in to cap the storage zone and leave breathing room above for sprinklers, wiring, or ambient strip lights.
Door swing seems obvious until drawers jam on debut. Budget 24 in of clearance for sliders and 36 in for hinged panels, measured from the front plane of the doors. I once watched a freshly assembled shoe shelf refuse to open because a bifold pivot sat just two inches too close. That fiasco ended with an oscillating saw and an afternoon lost to patching drywall—never again. Measure your opening, factor in door hardware, and leave generous breathing space so drawers glide freely and doors don’t bruise knuckles.
Every closet I design starts with one of three proven templates:
| Layout | Lower Rod | Upper Rod | Overhead Shelf |
|---|---|---|---|
| Single | — | 60 in | Yes |
| Double | 30–40 in | 80–82 in | Optional |
Those numbers aren’t arbitrary; they’re field-tested heights that balance accessibility with wrinkle-free hanging. The double-rod scheme almost doubles usable capacity without demanding extra depth—simply stagger the rods at 40 in and 80 in. I borrowed this trick for a small bedroom remodel last spring, adding a slim adjustable system that snapped into pre-drilled holes. The client gained room for 120 extra garments and still had floor space for a hamper.
Anchoring is non-negotiable. Use toggle bolts or screw-in anchors rated at least 75 lb on every support cleat. Proper installation keeps shelves from sagging—no one wants to find their Sunday blazer crumpled beneath a buckled rod at 2 a.m. For kid closets, drop the lower bar to 28 in and include an adjustable top rail. As sneakers evolve into size-11 boots, you can re-space rods without drilling new studs.
Shelves follow similar logic. Reserve 12 in-deep ledges for shoes and accessories.Recess them two inches from the front edge so pant legs fall straight. Pin holes every 1¼ in let you tweak heights as wardrobes grow—knee-high boots one season, stacked jeans the next.
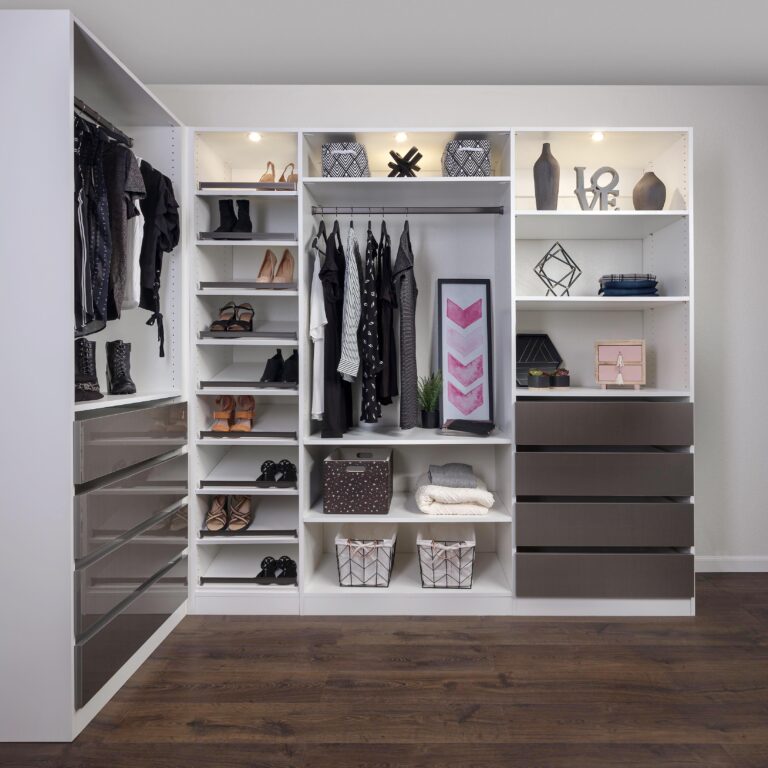
Numbers sing louder when paired with pictures, so here’s how the common widths play out on the ground:
3-Foot (36 in) Reach-In – Perfect for guest rooms. One centered rod, two shelves above. I love an eight-inch fencing rail at floor level to corral shoes without losing depth.
4-Foot (48 in) – The size of my first condo closet. A double-rod kit transforms this into a mini wardrobe workhorse: shirts up top, pants down low, with room for a 14-in sweater shelf off to the side. Adding a slim double-rod organizer, as I wrote in my own field guide, bumps hanging capacity nearly 90 percent.
5-Foot (60 in) – Teenage-approved. Drop a center divider: drawers on the left, full-height hang on the right. I install a valet rod under the upper shelf for next-day outfits—eight surprise extra inches that disappear when not in use.
6-Foot (72 in) – Think of it as two side-by-side three-foot bays: outer sections get double rods, inner zone hosts long dresses or coats. Overhead shelf runs continuous, preventing dead corners.
For each width, maintain 24 in depth and 8 ft height to keep design math simple. The moment you stretch past six feet in width or 28 in in depth, you’re flirting with small walk-in territory—an entirely different rulebook full of clearance and code requirements you don’t want to overlook.
A well-planned closet—paired with the right organizer—turns clutter into calm. After installing countless systems, I’ve found three features separate winners from wannabes:
Tool-free adjustability so you can slide shelves without breaking out a drill.
Slim vertical panels (¾ in or thinner) that preserve every precious inch of interior width.
Integrated baskets or soft-close drawers for items too rebellious to stay folded.
In my organizer playbook I remind clients: “Design around your items. Adjust shelf heights for tall boots or handbags.” A recent job proved the point. We mocked up the layout in 3-D software, then used cardboard cutouts of the homeowner’s largest winter boots. That five-dollar prototype saved a costly reorder when the real shelves arrived.
When depth is limited, telescoping valet rods flash their genius. Mounted under the upper shelf, they provide eight inches of temporary hanging for steaming clothes. Slide them back and they disappear—zero permanent footprint. Add LED strip lighting behind the fascia and you’ve elevated a reach-in to boutique status without moving a single wall.
.
Nothing ruins a freshly painted closet faster than a bowed MDF shelf. Trust me—I’ve watched a sag develop overnight under the weight of nothing more than folded jeans. The cure is part hardware, part physics. Toggle bolts or screw-in anchors rated 75–100 lb should secure every support cleat; anything less courts disaster. I reinforce shelves longer than 36 in with a 1×2 poplar face frame glued to the front edge. That simple I-beam effect doubles stiffness and hides raw melamine.
Spacing is equally critical. Punch adjustment holes every 1¼ in on vertical panels so shelf relocation never requires a new drill bit. On closets deeper than 24 in, recess shelves two inches from the front edge; pant legs hang straight, and the extra gap lets LED tape lighting beam downward without casting harsh shadows.
Finally, humidity. Wood composites absorb moisture like a sponge, then sag in slow motion. A $3 hygrometer stapled to the back panel warns you when levels creep past 60 percent. Run a tiny dehumidifier or crack the HVAC vent, and your shelves will stay poker-straight for decades.
Context changes everything. Entry closets endure daily abuse—umbrellas, muddy boots, winter coats. I line their lower 12 inches with vinyl flooring off-cuts and expand depth to 26 in so puffer jackets don’t choke the rod. In hallways, shallow 20-inch reach-ins excel as linen presses: fewer hanging rods, more fixed shelves, doors that swing a carefree 110°. For bedroom wardrobes, versatility is king. Drawer towers 18–24 in deep hold tees and gym gear, while double rods keep shirts and trousers wrinkle-free.
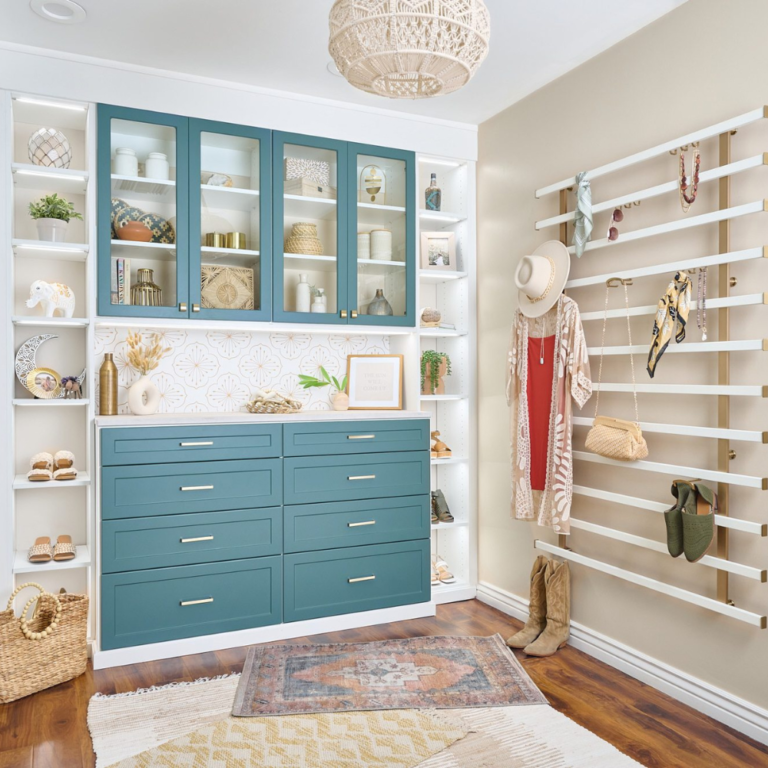
Here’s my favorite space-saving magic trick: tuck a low dresser beneath the bottom rod. In small bedrooms, relocating the dresser inside the closet frees priceless floor real estate and gives the room an instant minimalist vibe. Add a frameless mirror on the inside of one door, and you’ve created a pseudo-dressing area with zero extra square footage.
Lighting matters, too. Swap the dusty pull-chain bulb for a motion-sensor LED strip along the shelf fascia. It costs less than dinner for two, installs in fifteen minutes, and instantly elevates both function and aesthetic. Because if you can’t see what you own, you’ll never wear half of it.
Depth: Aim for 22–24 in; stretch to 28 in for bulky outerwear.
Width: 3 ft for basics, 6 ft for two adults; reinforce rods every four feet to prevent bowing.
Height & Rods: Double rods at 40 in and 80 in nearly double hanging capacity without extra depth
Shelves & Drawers: Use 12 in shelves for shoes, 18–24 in drawers for folded wear.
Installation: Measure twice, anchor once, and monitor humidity so wood stays true. I’ll never forget the night a collapsed rod buried my leather jacket under a denim avalanche—learn from my scars.
Follow these guidelines and, to borrow a direct line from my personal organizer playbook, “enjoy a wardrobe space that feels as put-together as you do.”